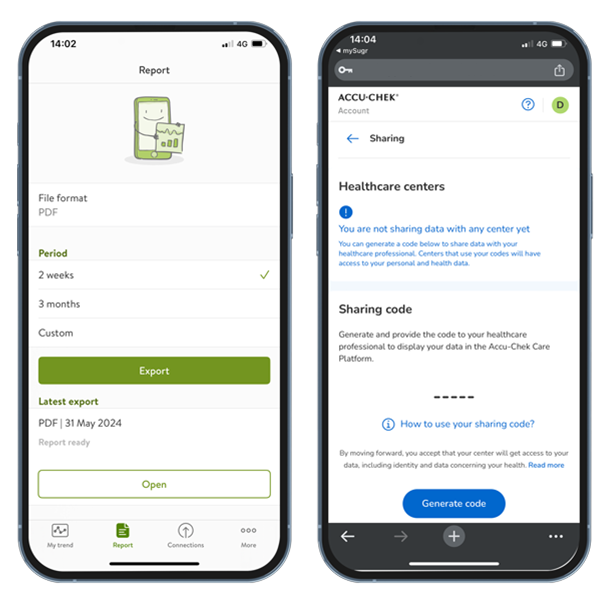
How do I manually log my diabetes data using mySugr?
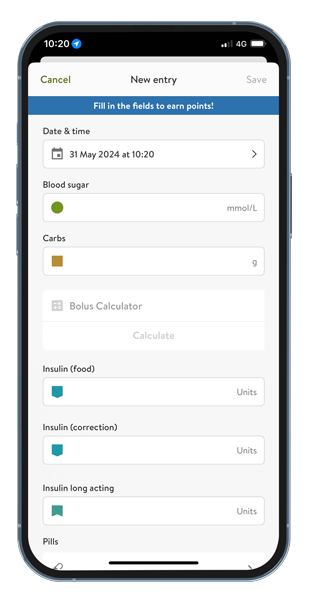
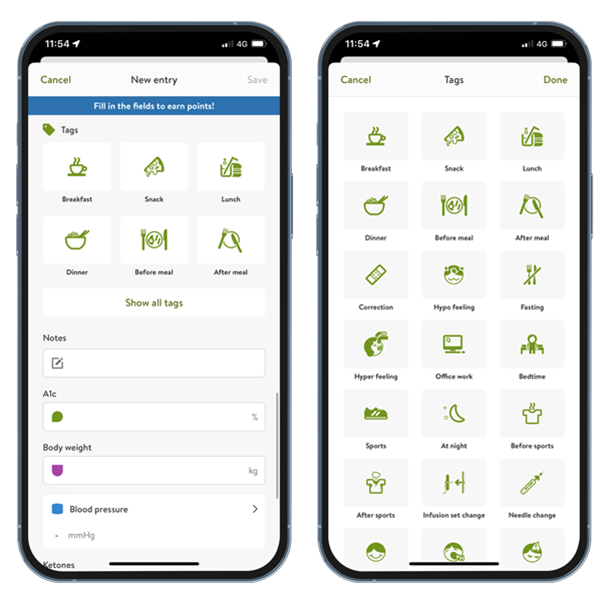
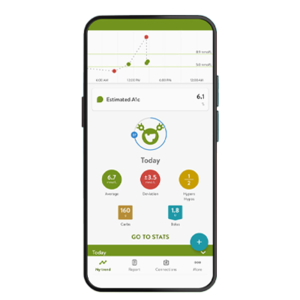
Start by tapping on the “+” on your mySugr dashboard. From there, you arrive at your logging screen. There’s one field for each item you may want to log (you can take a look at the overview of the different items below).
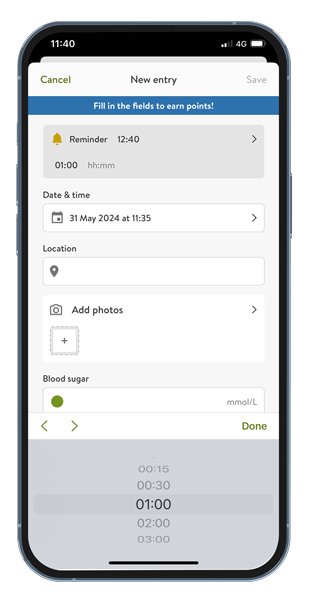
The time and date are automatically set, and so is the location (as long as location services are enabled). You can, of course, change any of these by tapping on them, to enter readings from earlier in the day or another day altogether.
Pro Tips:
- When changing the date or time, always change the day first otherwise mySugr thinks you are trying to save data in the future.
- You can assign labels and icons to locations (home, work, gym, etc.). Tap the location field, type a label, pick an icon, enjoy!
Once you’re done filling the fields, scroll down and tap on “save” or tap directly on the green check in the top right corner. You’ll be back on your home screen, and your entry will appear on your list. Swipe an entry to the right to reveal an action bar with options to share, edit or delete.
From there, just tap on what you need. When tapping on “edit”, you’ll be led back to the logging screen, pre-filled with the data you had in this entry. Just change what you need and save it again.